Monday, 11 August 2014

Deep-fried Prawns

Deep-fried Prawns


Recipe source :  Doris Choo of Sumptuous Flavours.

My family call this "chau har-look", literally meaning deep-fried prawn. I have a very deep  impression of this wonderful prawn dish. I ate this the first time during my late grandfather's birthday. I was probably five or six years old at that time. I still have vague memories of the house being crowded with uncles, aunts, countless numbers of cousins, other relatives and friends of our large extended family. And I had recollection of large basins of deep-fried prawns set aside on a table, waiting to be arranged onto serving platters for the grand birthday bash. I remember tents being set up around the large sprawling village home to accommodate so many people gathered together.

My family's original recipe probably used a combination of all-purpose flour and rice flour with a sprinkling of salt and pepper. Over the years, my aunts and my horde of cousins have added various other ingredients to improve and enhance the taste of the batter. 

All these years I have never attempted to make this until I met some of my relatives recently and we started talking about the good old days. One thing led to another and here is the modified version after adjusting the recipe and gleaning some "secrets"  from the many aunts and cousins who all wanted a say as to what ingredients should go into the batter.  It was fun listening to the friendly banter!

Ingredients

500g medium-sized prawns, remove shells but keep the tails
4 tbsp tapioca flour
oil for deep frying

Marinade for prawns

1/2 tsp salt
1 tsp sugar

Marinate prawns for about 30 minutes


Ingredients for batter


50g plain flour
50g tapioca flour
50g rice flour
1 tbsp custard powder
1 tsp baking soda
1 tsp baking powder
a dash of pepper
some chopped spring onions or Chinese parsley
150ml water
2 tbsp oil
1/2 tsp salt


Method


1.  Mix all the ingredients of the batter until smooth. Set aside.
2.  Heat enough oil in a wok for deep-frying. Heat until hot.
3.  Dredge marinated prawns into the 4 tbsp of tapioca flour. Then dip this dredged prawn into the batter to coat it evenly except the last bit of the prawn's tail.
4.  Place the prawn into hot oil and fry both sides until golden.
5.  Remove and drain on absorbent towels.


I am linking this post to Little Thumbs Up

Photobucket

The theme for August 2014 is Flour

Hosted by  Domestic Goddess Wannabe


Friday, 8 August 2014

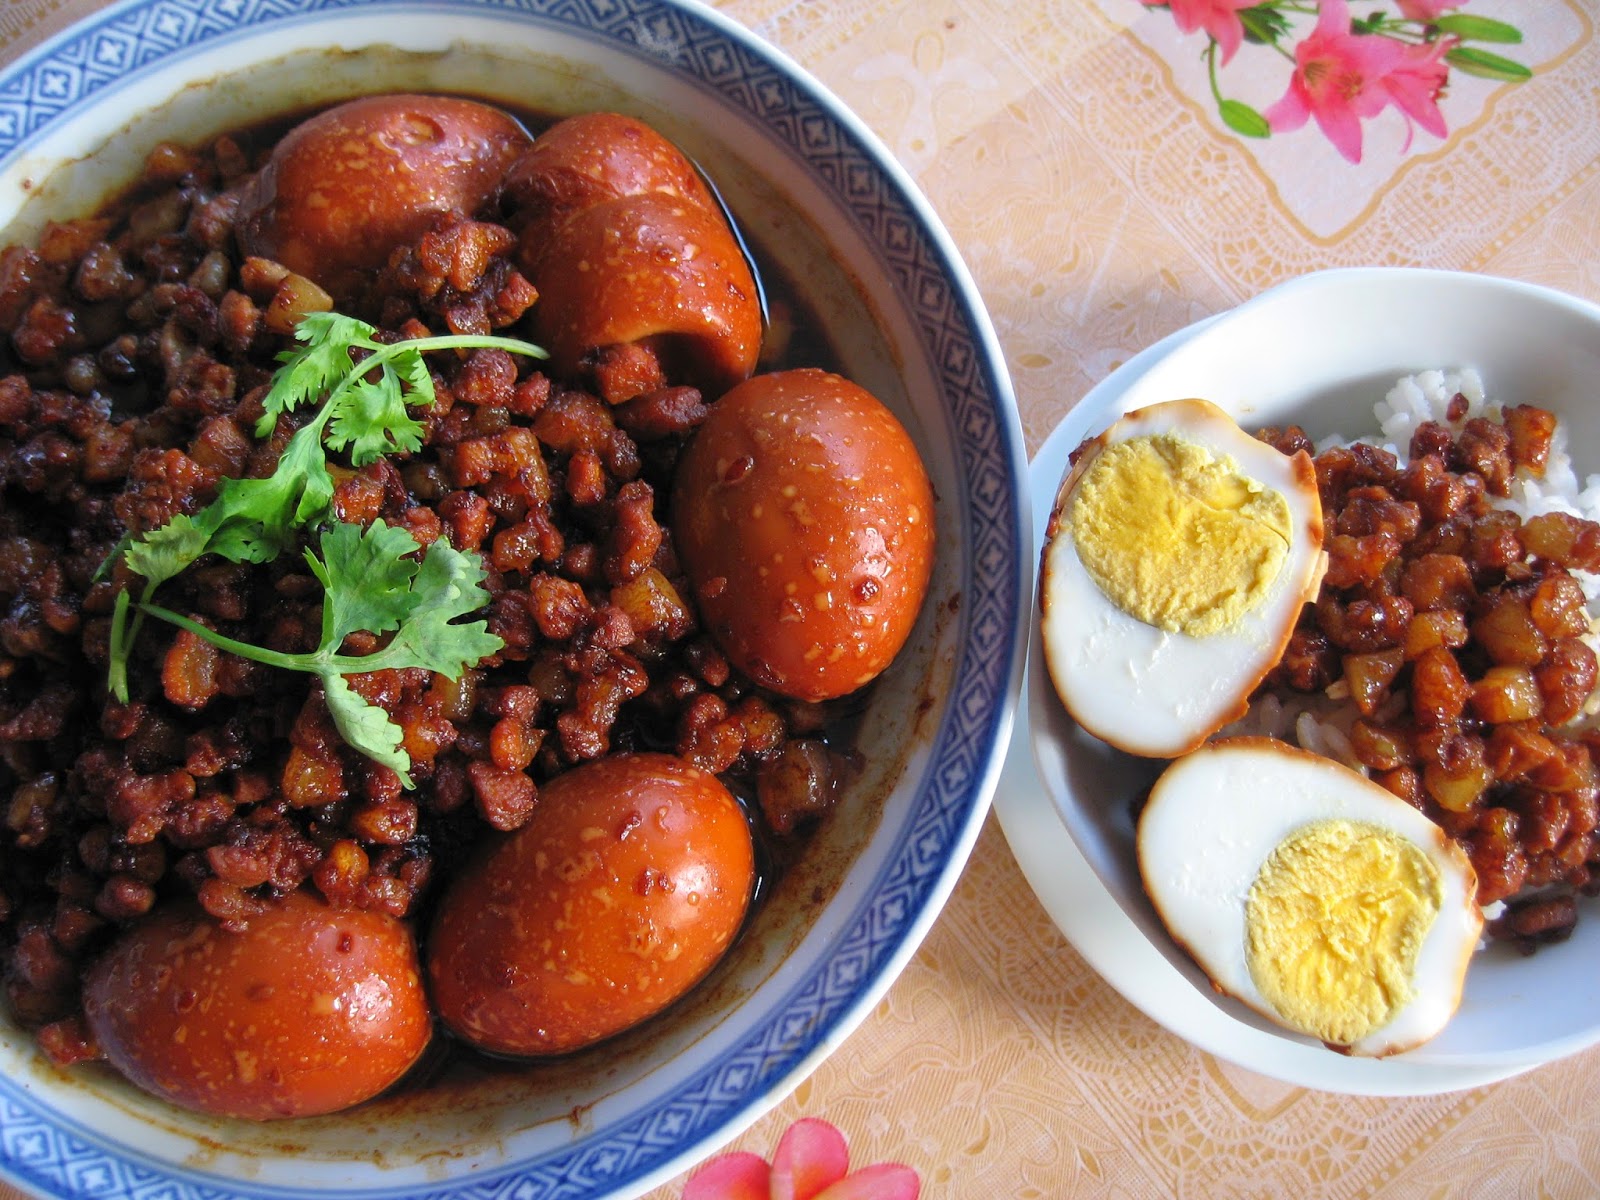
Braised Pork On Rice (Lu Rou Fan) 滷肉飯

Braised Pork On Rice (Lu Rou Fan) 滷肉飯


Recipe source :  Taiwan Duck

Accordingly to Joanne of Taiwan Duck, Lou Rou Fan is a traditional meal of the Taiwanese farming families. Over the years, its popularity has spread to become so popular that Lou Rou Fan is almost synonymous with Taiwan. 

I remember seeing hawkers at the Shihlin night market in Taiwan doing  brisk business selling this simple and very delicious rice. They were served in tiny bowls with just braised pork on top. Eggs are optional at additional costs. The tiny bowl of braised pork on rice can be quite filling and makes a very satisfying meal. I remember my two sons were crazy over it and ate several bowls of this braised pork on rice with other delicacies that the Shilhlin night market has to offer.

Joanne stressed that the slab of pork must be cut into tiny cubes instead of taking the easy way out by using minced meat. So I diligently followed her instructions for I believe there must be a difference since she had stressed that her instructions be followed.

The health conscious might be put-off by the excessive oil. I suggest you eat this with a ready pot of Chinese tea at hand to neutralise the fat.  

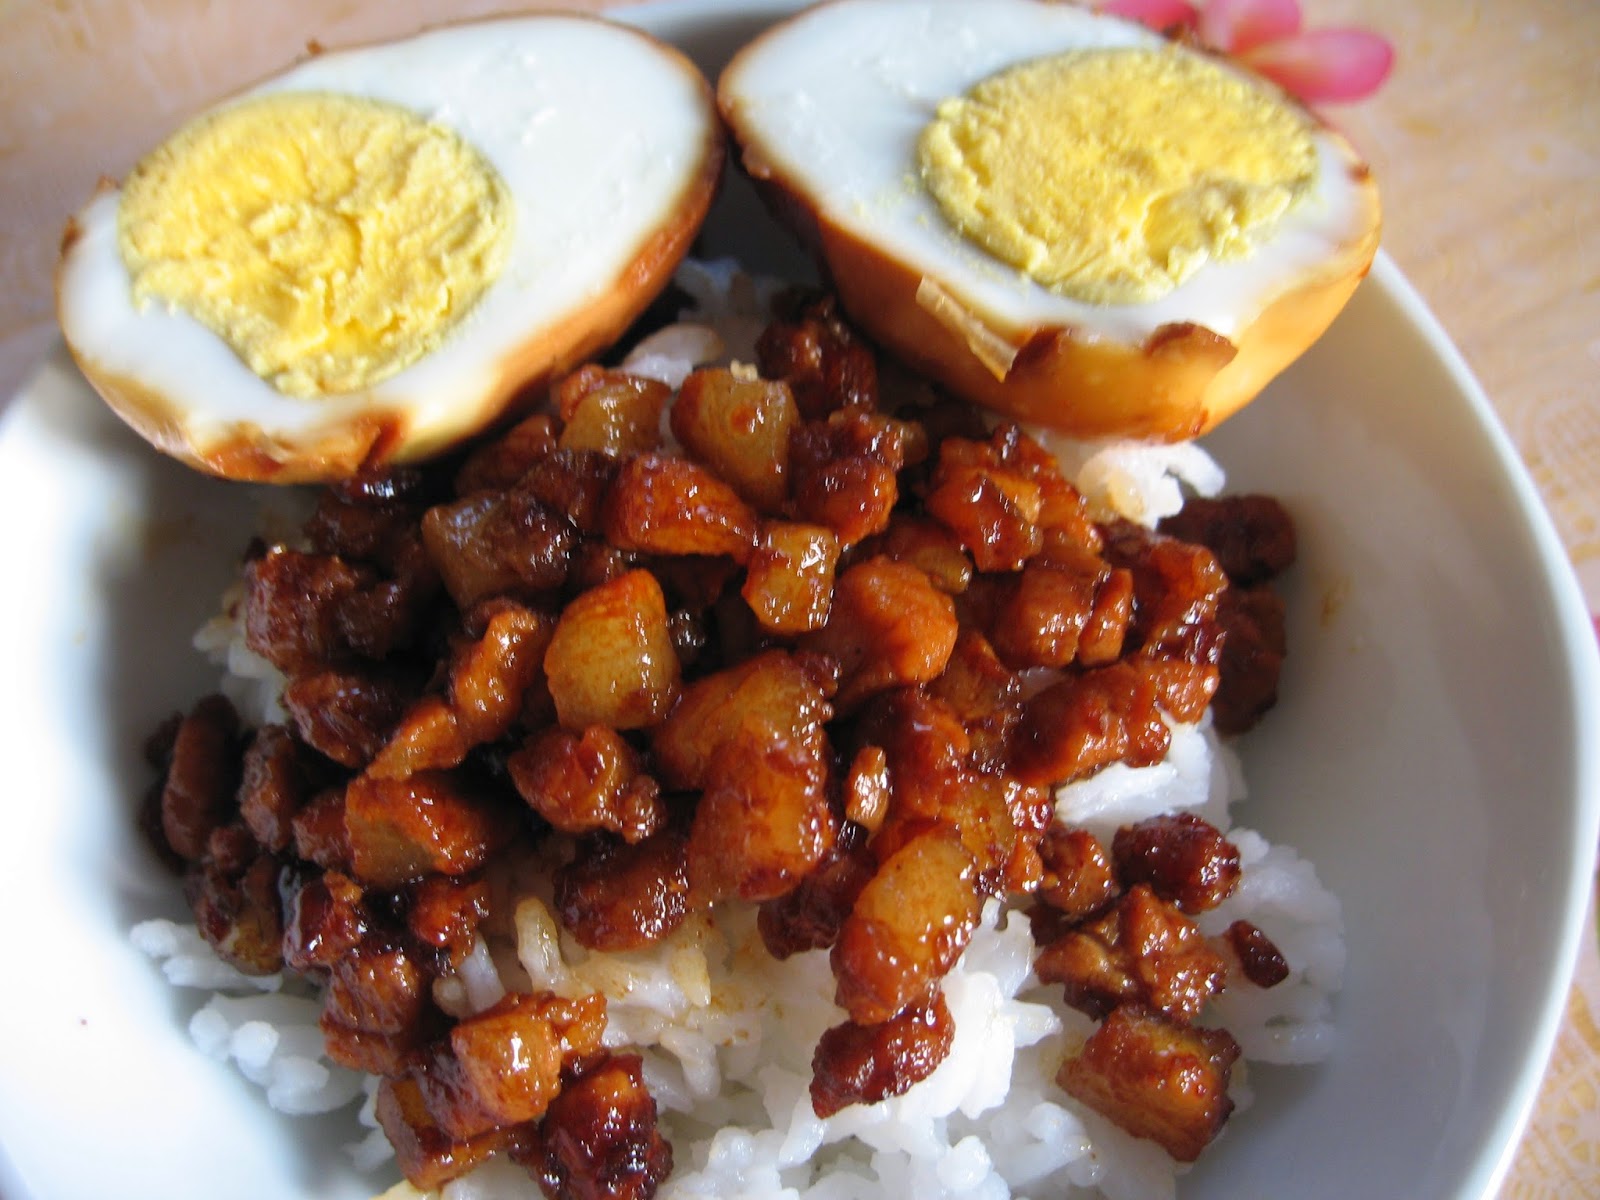
Lu Rou Fan tastes terrific!

Ingredients ( serves 4 to 5 people)


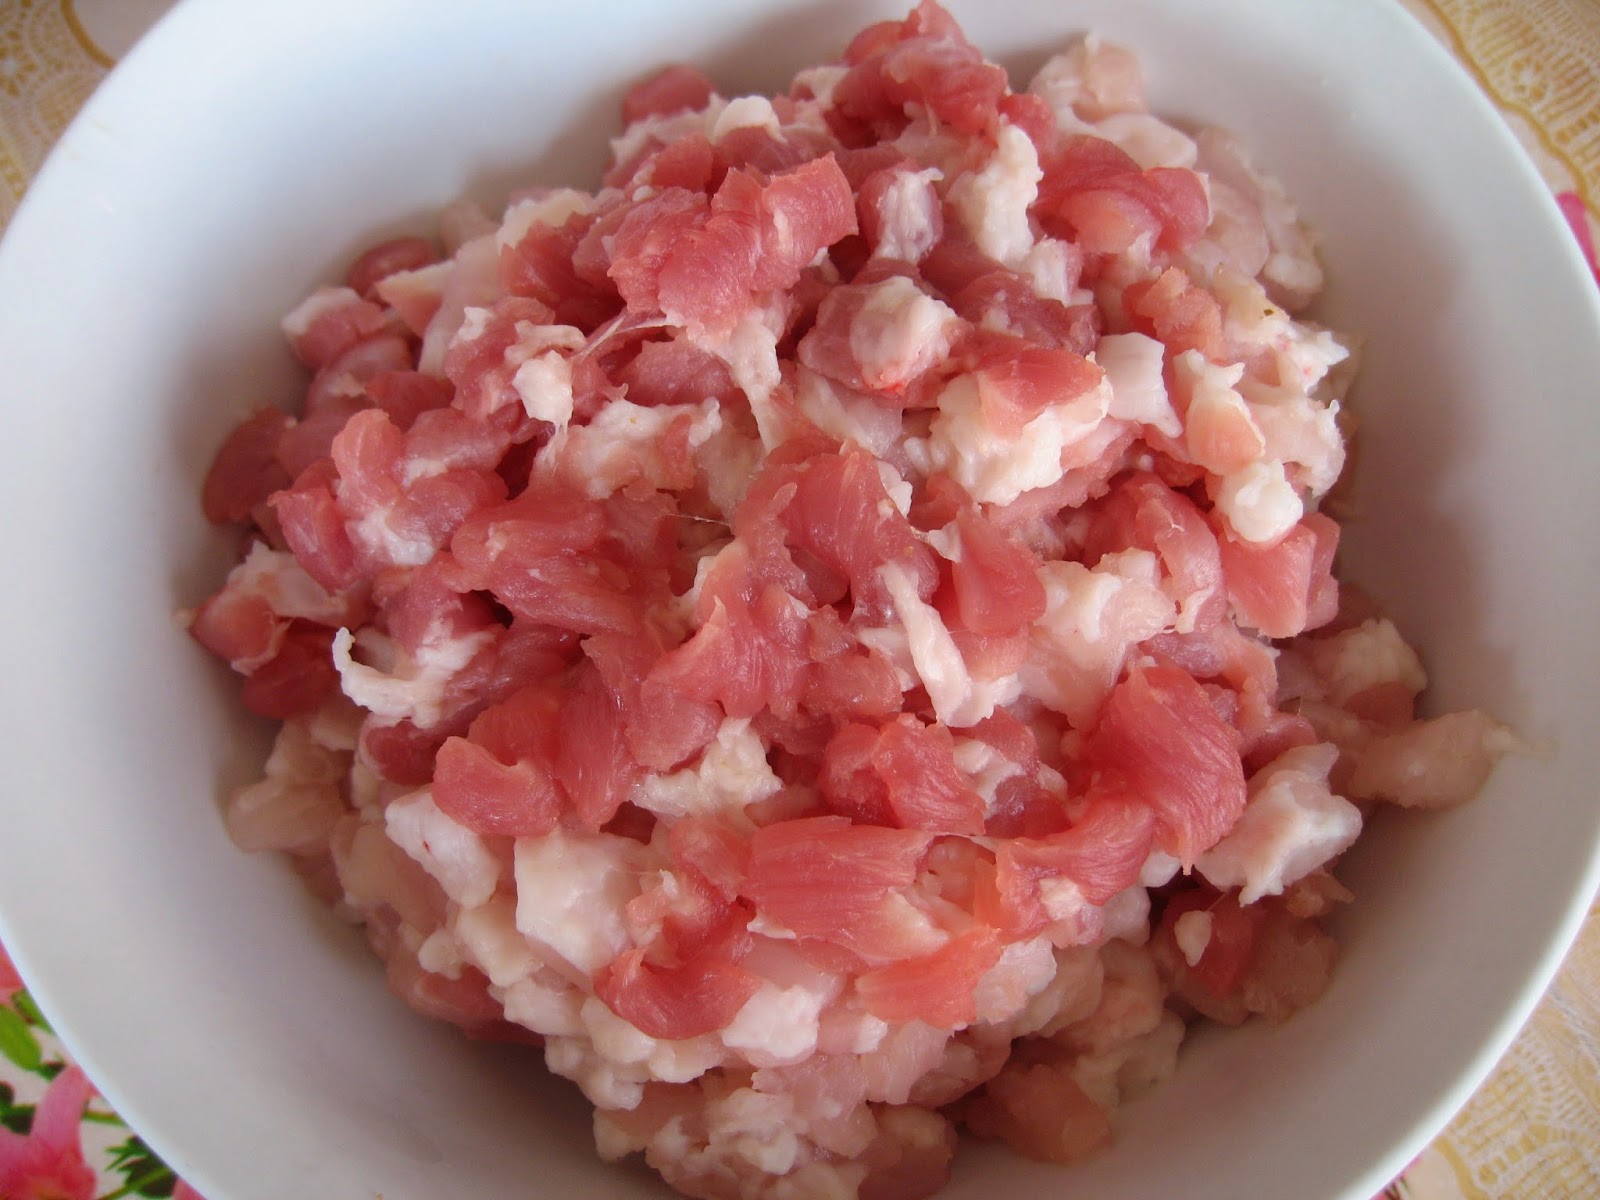
600g pork, cut into tiny cubes of 0.5cm square
3 tbsp soy sauce
2 tbsp dark soya sauce
1 large piece of rock sugar, or use about 3 tsp of sugar
4 shallots, minced
5 pips garlic, minced
5 eggs, hard-boiled and remove shells
3 tbsp shao hsing wine
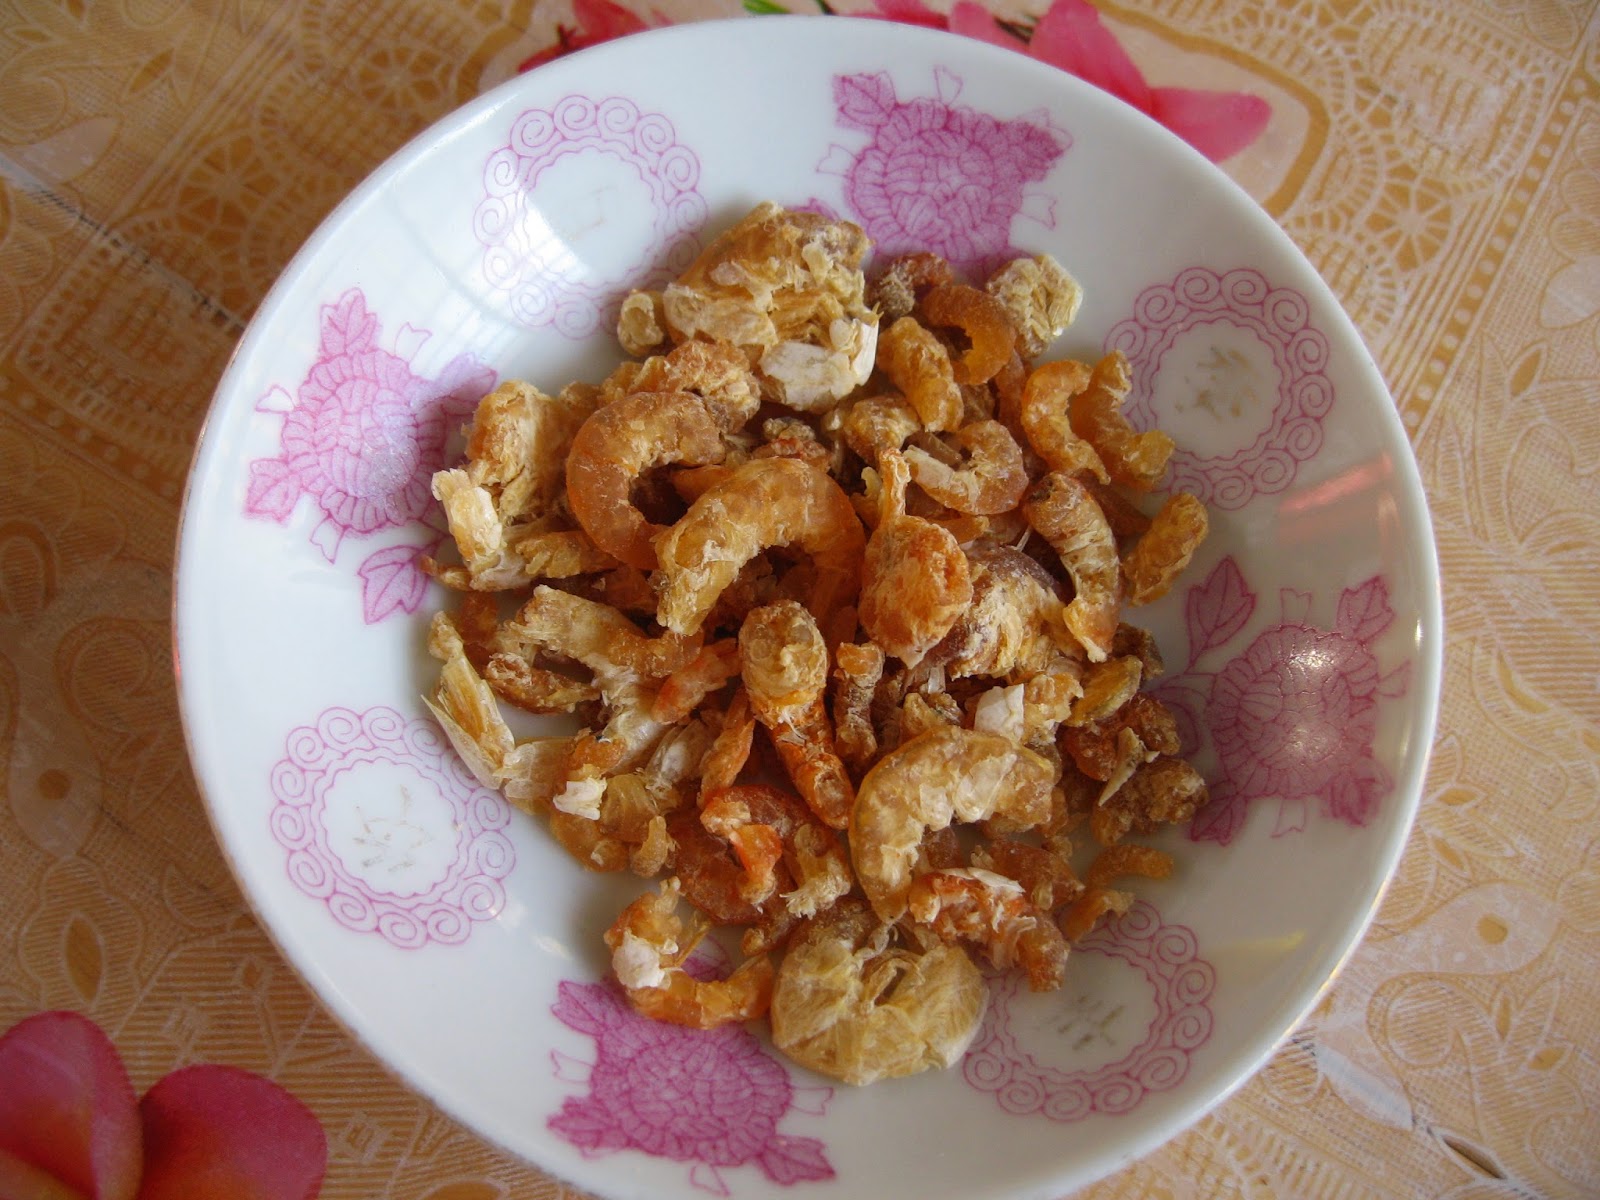
2 tbsp dried shrimps, soaked until soft and coarsely chopped
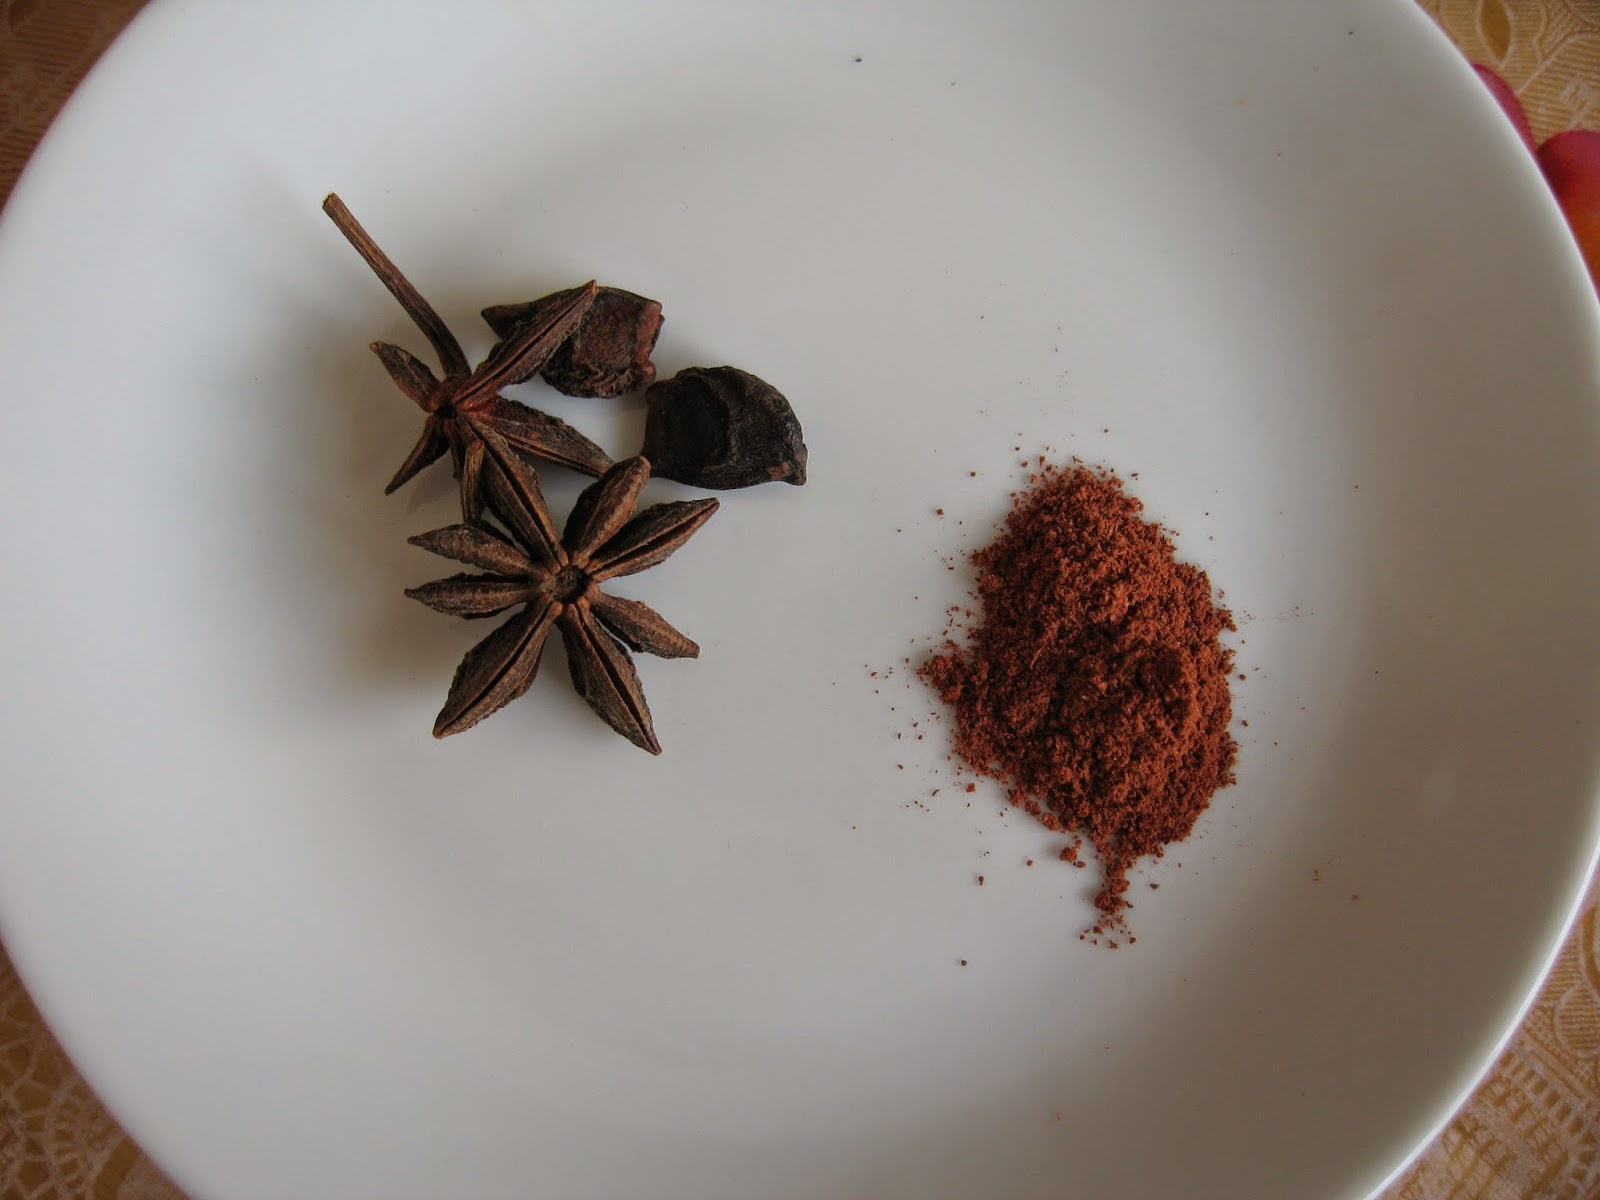
2 star anise
1/2 tsp five-spice powder
some cooked  rice


 Pork cut into tiny cubes

 Dried shrimps - need to soak until soft and coarsely chopped

Left : star anise. Right : five-spice powder

Method


1.  Heat a wok until hot. Add the pork cubes and dry-fry until water has evaporated and oil oozes out.
2.  Add in the minced garlic and minced shallots. Continue to stir-fry until fragrant.
3.  Add in the coarsely chopped dried shrimps.
4.  Then add in five-spice powder and star anise. Continue to stir-fry.
5.  Add in hot water to cover the pork pieces. Add in half the amount of shao hsing wine.
6.  Add in the rock sugar, soy sauce and dark soya sauce.
7.  Add in the hard-boiled eggs to the pork and gravy. Turn the eggs to ensure they are evenly coloured.
8.  Allow to simmer for about 20 minutes or until the gravy is almost dry.


I am submitting this post to Asian Food Fest #10 August 2014 : Taiwan 
Hosted by Alan Goh of Travelling Foodies


Wednesday, 6 August 2014

Chinese Spring Onion Pancake 蔥油餅

Chinese Spring Onion Pancake 蔥油餅


Recipe source :  Wantanmien

It is amazing that such simple ingredients of just using plain flour, a little salt and some chopped spring onions can yield such a tasty pancake. 

Spring onion pancakes are popularly eaten at breakfast by the Chinese, but hardly by our local Malaysian Chinese as we grew up feasting on roti canai instead of spring onion pancakes! Come to think of it, there are similarities between the Chinese spring onion pancakes and our local roti canai. 

However, I would not dare to venture into making comparisons between these two pancakes because geographically we are different and our lifestyles or our ways of life are vastly different. So, suffice to say that I find this spring onion pancake tasty. I like the outer skin which is crispy and I just love the fragrance of spring onion in each bite. Nice!

However, both my hubby and my son did not share my enthusiasm. 

It is all a matter of preference. 


Ingredients


225g all-purpose flour
150ml warm water
2 stalks of spring onions, chopped
a little salt
some oil

 Chopped spring onions

Salt. 
Use sparingly as it can be very salty for a small pancake.

Method


1.  Pour flour into a bowl. 
2.  Add warm water. Stir well. Cover the bowl and allow it to rest for 10 minutes.
3.  After 10 minutes, knead to form a soft dough. Divide the dough into 10 equal portions.
4.  Roll out one portion into a flat circle. Brush oil over the entire circle. Sprinkle a little bit of salt and spring onions onto the circle. Use salt sparingly as it can be very salty for a small pancake.
5.  Then roll up one end to form a cylindrical shaped dough. Bend one end of the cylindrical dough to form a circle. Then flatten it to form a small pancake. It is okay if the dough burst open when you roll it.
6.  Repeat the process with the remaining dough. Sprinkle some flour onto the pancakes to prevent them from sticking together.
7.  Heat a frying pan and add some oil. Fry the pancakes on both sides until golden.
8.  Ready to serve.


I am linking this post to Little Thumbs Up

Photobucket

The theme for August 2014 is Flour

Hosted by  Domestic Goddess Wannabe


Saturday, 2 August 2014

Spicy Iron Eggs 铁蛋

Spicy Iron Eggs 铁蛋


Recipe source :  Adapted from Flavours & Fortune, Spring volume : 2006 issue 13 ( 1 )

According to Wikipedia, iron eggs were created by a restaurateur who served snacks to the dock hands in a seaside town in Taiwan. It was discovered by chance on one rainy day when business was slow. Because of the slow business, she had to continually recook the eggs to keep them warm after taking them out of the stew. The recooking and drying process eventually resulted in eggs that were dark, flavourful, and chewy. They were extremely popular with the locals in Taiwan. The restaurateur eventually founded a new business based on her iron egg recipe, selling them under the brand Apotiedan : 阿婆鐵蛋; literally: "Grandma's iron eggs"). 

Iron eggs are a specialty of Danshui, a town situated to the north-eastern part of Taipei, Taiwan. They are usually made from chicken or quail eggs. This popular snack is easily available along the streets and stalls which lined the roads of Danshui. It is so popular that iron eggs are now among the top rated national snacks of Taiwan.

The making of iron eggs is a very tedious process. It involves boiling, cooling down the eggs and reboiling again to achieve the desired dark colour and chewiness. All in, we repeated this tedious process eleven times.  But of course, the result was well worth all the effort we put in.

My youngest son was really excited when he knew I was making iron eggs. In fact he was hovering around me to watch the work-in-progress for he wanted to observe first-hand how the eggs changed in colour and texture as I boiled and reboiled the eggs over and over again. He actually helped to set up an extra fan to expedite the cooling-down process of the eggs.   

My son and I, do not eat egg yolks but for these iron eggs, we made an exception because the whole egg was so chewy and bursting with flavours! And I especially like the quail eggs because I can easily pop the whole tiny egg into my mouth! Mmmmm, delicious!

N.B. -  A point to note is that the eggs tend to crack due to the repeated boiling and handling. So do be very careful and gentle in handling the eggs.

Ingredients


1 fresh chilli, bruised
 5 chicken eggs, hard boiled and remove shells
15 quail eggs, hard boiled and remove shells
4 tbsp thick soya sauce
4 tbsp soy sauce
6 cups prepared black tea ( I used pu-erh tea )
60g cane rock sugar


Mixed Spices


2 star anise
3 pieces liquorice
1 small piece tangerine peel
5 cloves
5 green cardamom
1 piece cinnamon bark ( about 3 cm long )
1/2 tsp Sichuan pepper corns

Top row: Cinnamon bark, cloves and cardamon
Bottom row: Star anise, dried tangerine peel and Sichuan peppercorns
Extreme right: Liquorice ( kam choe )

Chilli and cane rock sugar

Preparation


1.  Place 6 cups of black tea, hard boiled eggs and the mixed spices into a medium-sized pot. Bring to the boil, then reduce heat to medium and simmer for 10 minutes. Turn off heat. Remove the eggs from pot.
2.  Air-dry the eggs by using an electric fan. Once eggs has cooled down, place the eggs back into the pot to boil again for 10 minutes.
3.  Repeat the process for 10 times until the eggs are dark brown. 

These pictures are to be viewed from left to right and from top down - 
You can see the interesting changes in hue of these eggs 
from light to darker brown as they were being boiled and air-dried repeatedly.


I am submitting this post to Asian Food Fest #10 August 2014  : Taiwan 
Hosted by Alan Goh of Travelling Foodies


Friday, 1 August 2014

Gordon Ramsay Blondies Recipe

Gordon Ramsay Blondies Recipe

Recipe source :  Gordon Ramsay

Blondies are white chocolate version of brownies. Personally, I find blondies less intense in taste and flavour compared to regular brownies. The cranberries were tasty and chewy. In fact, the next time I bake it, I would definitely add more cranberries than the suggested amount in this recipe.

My blondies turned out uneven. The edges were slightly higher then the middle portion which had sunken slightly but then I was comforted by the fact that the original photo had shown Gordon's blondies to be slightly uneven too.

Ingredients

  • 230g butter, plus extra for greasing
  • 340g dark brown sugar
  • Pinch of salt
  • 1 tsp vanilla extract
  • 2 eggs, lightly beaten
  • 280g plain flour
  • ½ tsp bicarbonate of soda
  • 1 tsp baking powder
  • 240g white chocolate, chopped into small chunks
  • 4 tbsp dried cranberries

Instructions


  1. Preheat the oven to 180°C/Gas 4. Lightly butter a 23cm square cake tin and line with greaseproof paper.
  2. Melt the butter in a saucepan and whisk in the sugar and salt. (A good whisk now will make the mixture slightly lighter and fluffier.) Add the vanilla extract and whisk again. Remove from the heat.
  3. Add the eggs to the butter mixture and stir well. Sift the flour, bicarbonate of soda and baking powder into a large bowl, then whisk in the egg and butter mixture a little at a time. (It’s important to do this in stages so that you don’t get any lumps.)
  4. Leave the mixture to cool slightly, then fold in the chocolate chunks and the cranberries. (If the mixture is too hot, the chocolate will melt.)
  5. Spoon into the prepared cake tin and spread out evenly. Bake for 35–40 minutes until the outer edges are firm and the middle still a little soft.
  6. Leave to cool on a wire rack for at least 10 minutes, then cut into squares before serving. Once cooled, the blondies will keep in an airtight container for up to a week.

This post is linked to Cook like a Star (Gordon Ramsay) organised by me, Bake for Happy Kids, Yen from Eat Your Heart Out and Mich from Piece of Cake - See more at: http://www.bakeforhappykids.com/#sthash.sdGpsh7p.dpuf

I am submitting this post to Cook Like A Star ( Gordon Ramsay ) 

Organised by Zoe of Bake For Happy Kids
Yen from Eat Your Heart Out  and Mich from Piece Of Cake


This post is linked to Cook like a Star (Gordon Ramsay) organised by me, Bake for Happy Kids, Yen from Eat Your Heart Out and Mich from Piece of Cake


- See more at: http://www.bakeforhappykids.com/#sthash.sdGpsh7p.dpuf
This post is linked to Cook like a Star (Gordon Ramsay) organised by me, Bake for Happy Kids, Yen from Eat Your Heart Out and Mich from Piece of Cake


- See more at: http://www.bakeforhappykids.com/#sthash.sdGpsh7p.dpuf
This post is linked to Cook like a Star (Gordon Ramsay) organised by me, Bake for Happy Kids, Yen from Eat Your Heart Out and Mich from Piece of Cake - See more at: http://www.bakeforhappykids.com/#sthash.sdGpsh7p.dpuf

I am also linking this post to Little Thumbs Up

Photobucket

The theme for August 2014 is Flour

Hosted by  Domestic Goddess Wannabe


Wednesday, 30 July 2014

"Pe-par" Tofu 琵琶豆腐

"Pe-par" Tofu 琵琶豆腐


Recipe : Adapted from Delicacies recipes
         
This "pe-par" tofu is a simple everyday dish. It's just a matter of mashing the nutritious tofu and combining them with minced meat, some herbs and some seasonings and you have got yourself a plate of delicious fried "pe-par" tofu. 

For an enhanced  flavour, dip them into this hot chilli  Vietnamese dipping fish sauce.

The normally bland tofu now tasted heavenly!  

Ingredients


1 block of soft tofu, mashed
2 small dried mushrooms, soaked and finely diced
100g minced pork/chicken
1 tbsp chopped spring onions
1 tbsp chopped Chinese parsley
1 egg
4 tbsp cornflour
1 tbsp soy sauce
1 tbsp oyster sauce
a dash of pepper
Oil for frying


Method


1.  Mix the mashed tofu, egg, minced pork, diced mushrooms, chopped spring onion, chopped Chinese parsley and all the sauce ingredients and cornflour together. Stir to mix evenly.
2.  Heat enough oil for frying in a wok. Spoon one tablespoon of the mixture into hot oil and fry until golden. Repeat process until all the mixture is finished. Remove them once they are fried to golden brown.
3.  Serve tofu patties with chilli sauce or try making this wonderful Vietnamese dipping fish sauce.


Sunday, 27 July 2014

Mushroom Pottage Soup

Mushroom Pottage Soup


Recipe source :  Doris Choo @ Sumptuous Flavours


My friend, Sharon was talking about her mother's potato soup. She shared with me that it can  be easily made and that homemade mushroom soup is very tasty. Sharon did not record her recipe so I had to figure out and estimate the amount of ingredients used. 

I made this for my son, YS who loves mushroom pottage soup. It  was thick and creamy. The soup was delicious. It has the aroma of  mushrooms and potatoes. However, it wasn't smooth like the famous Campbell's pottage mushroom soup.

The plus point is that there is no additives or preservatives.


Ingredients


200g fresh button mushrooms
350g potatoes ( about 3 medium-sized potatoes )
300g milk
800ml water
1/2 tsp chicken stock granules
1 tsp salt
dash of pepper
1 tbsp butter


Preparation


1.  Peel potatoes. Cut one potato into small cubes. Cut the other two potatoes into chunky pieces and place them into a blender with 500ml water.
2.  Slice 3 to 4 button mushrooms into thin slices. Roughly chop up the rest and place them into the blender with the potatoes. 
3.  Blend the button mushrooms and potatoes into puree.
4.  Pour the puree into a medium-sized pot.
5.  Add in the potato cubes and sliced button mushrooms. Add in 300ml water.
6.  Boil over medium flame until the potatoes are soft. Stir occasionally to prevent sticking to the bottom of the pot.
7.  When the potatoes have soften, add in milk, salt, butter, chicken granules and pepper.
8.  Adjust taste. Switch off  flame.
9.  Enough for 4 to 5 persons.


I am linking this post to Little Thumbs Up
Photobucket


The theme for July  2014 is Potato

Hosted by Jasline of Foodie Baker


Related Posts Plugin for WordPress, Blogger...